Getting Started
Categories:
This guide takes you from “I don’t have OPAL yet” to “I’m looking at the O3DE Editor with my project open.” No prior O3DE knowledge required — but if you’ve used Unity Hub or the stock O3DE Project Manager, the flow will feel familiar.
1. Install OPAL
Head to the Download page and grab the build for your platform. Run the installer (Windows/macOS) or launch the AppImage (Linux).
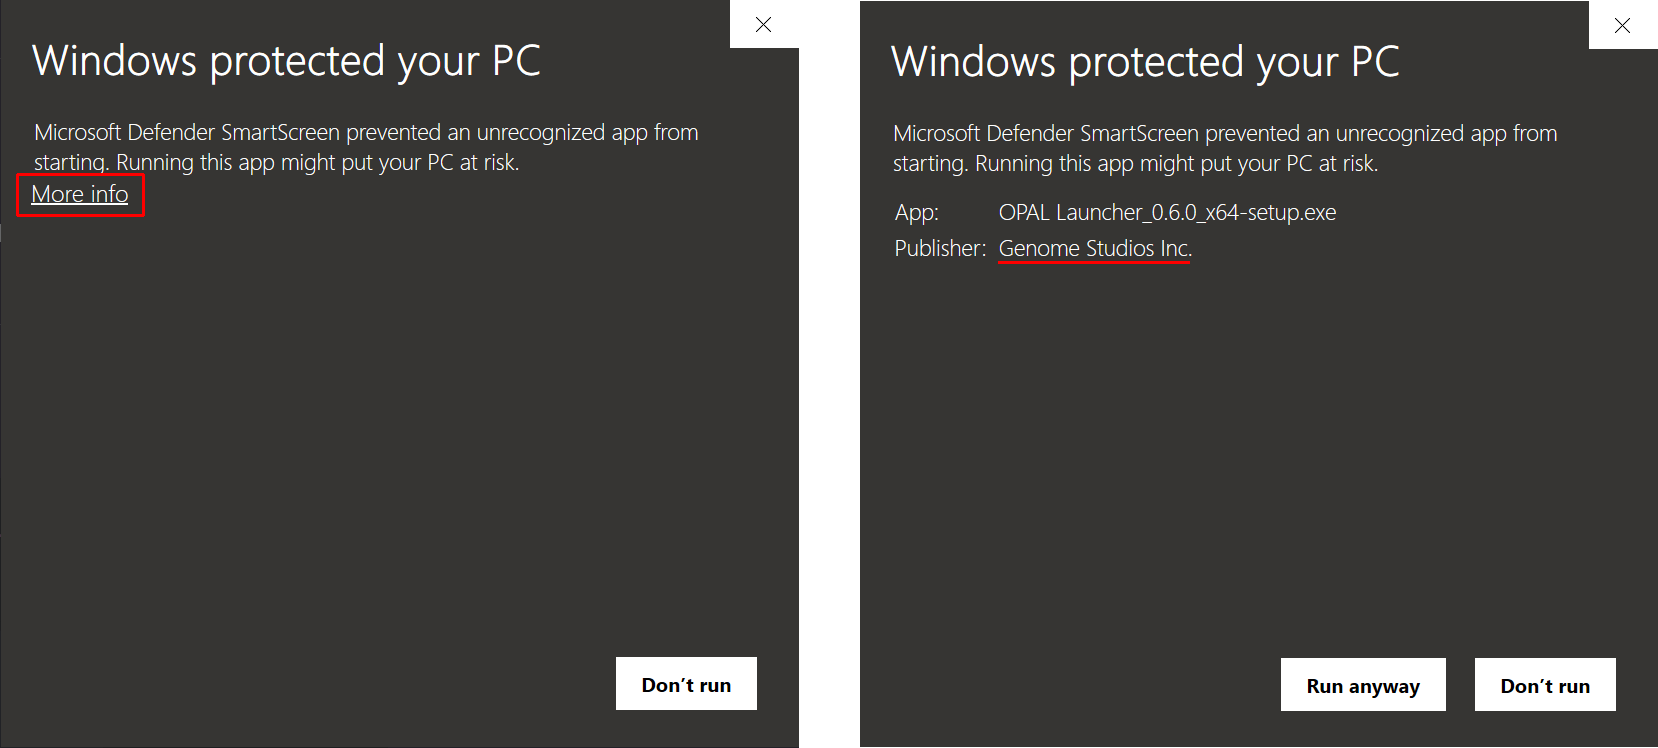
Windows Smart Screen
On Windows you will be prompted by Windows Smart Screen. To proceed:
- Select “More Info”.
- Verify the Publisher says Genome Studios Inc. then [Run Anyway].
2. Run the setup wizard
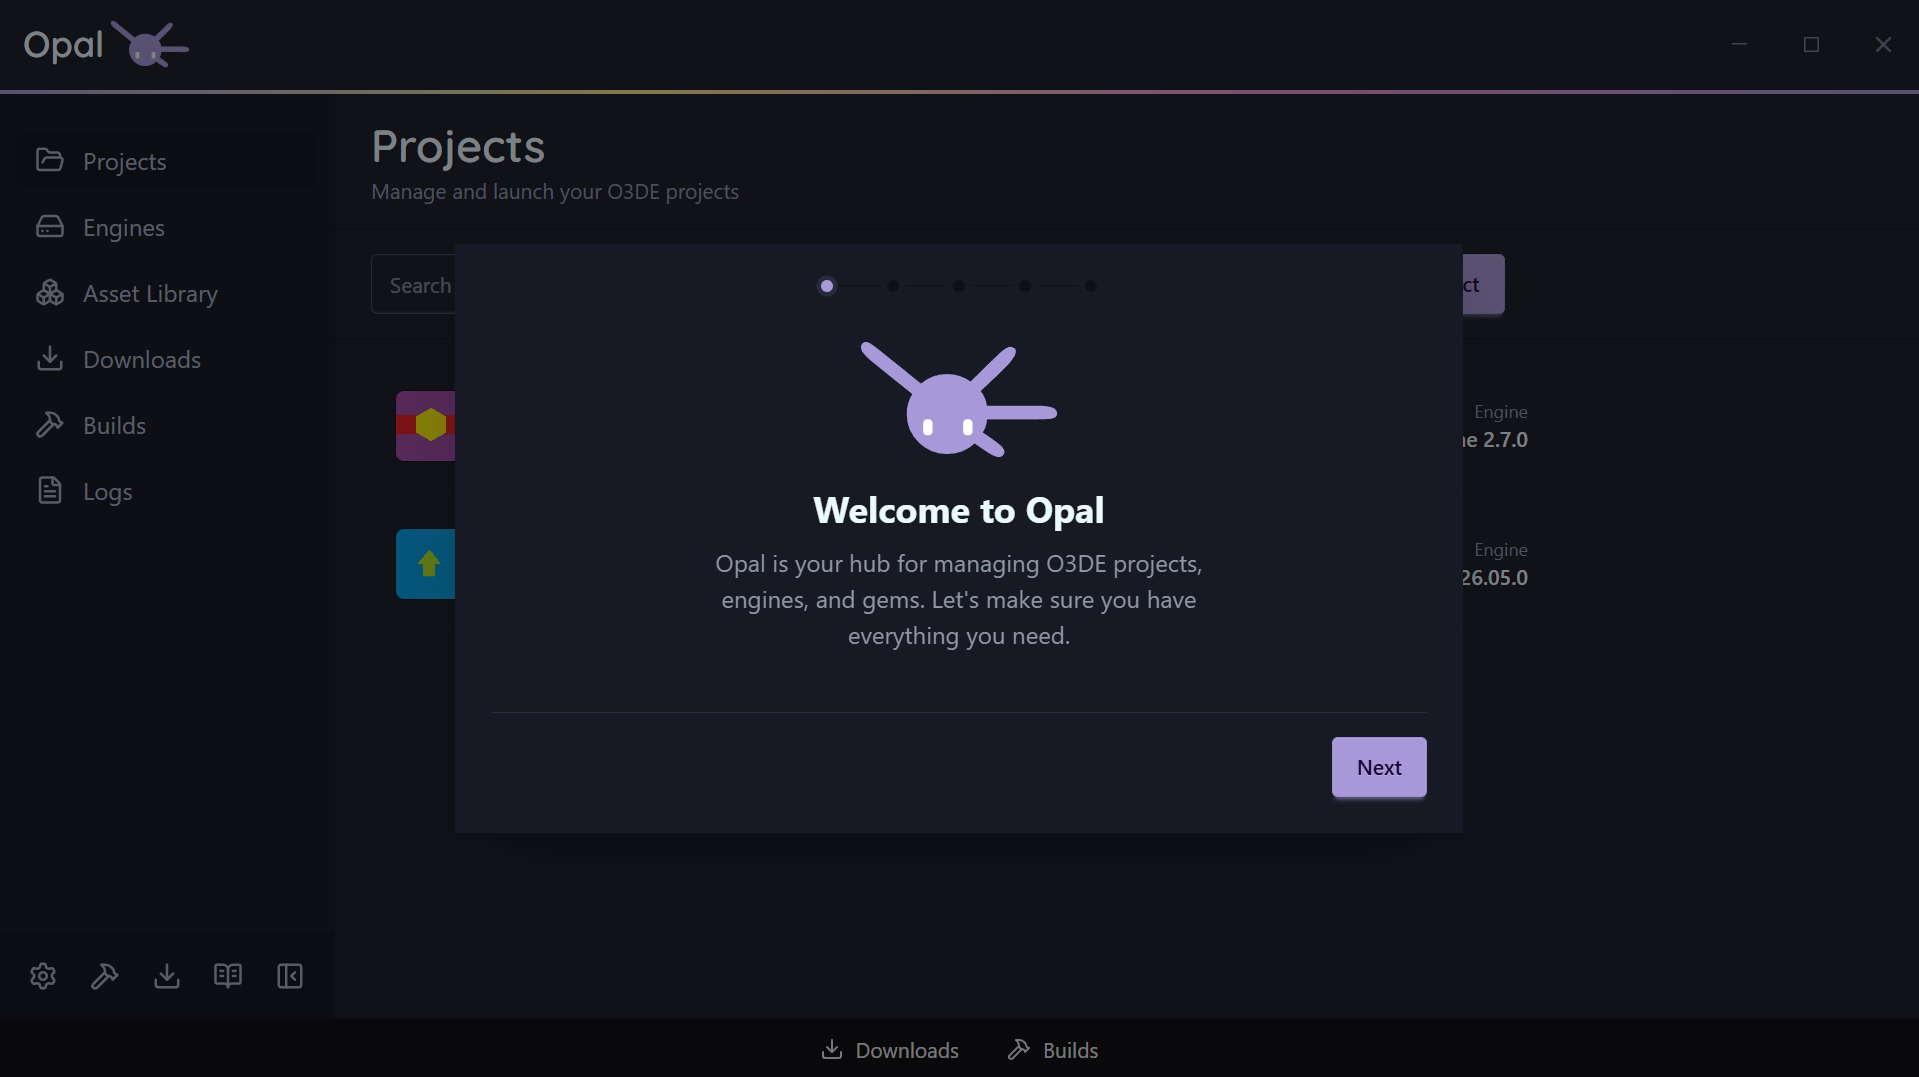
On first launch, OPAL runs a short onboarding wizard: Welcome → Usage Statistics → Build Tools → Libraries → Install Locations → Done.
The Usage Statistics step is where OPAL asks whether it may collect anonymous usage data. The box starts unticked and clicking straight past it leaves the feature off — see Privacy.
Dependencies
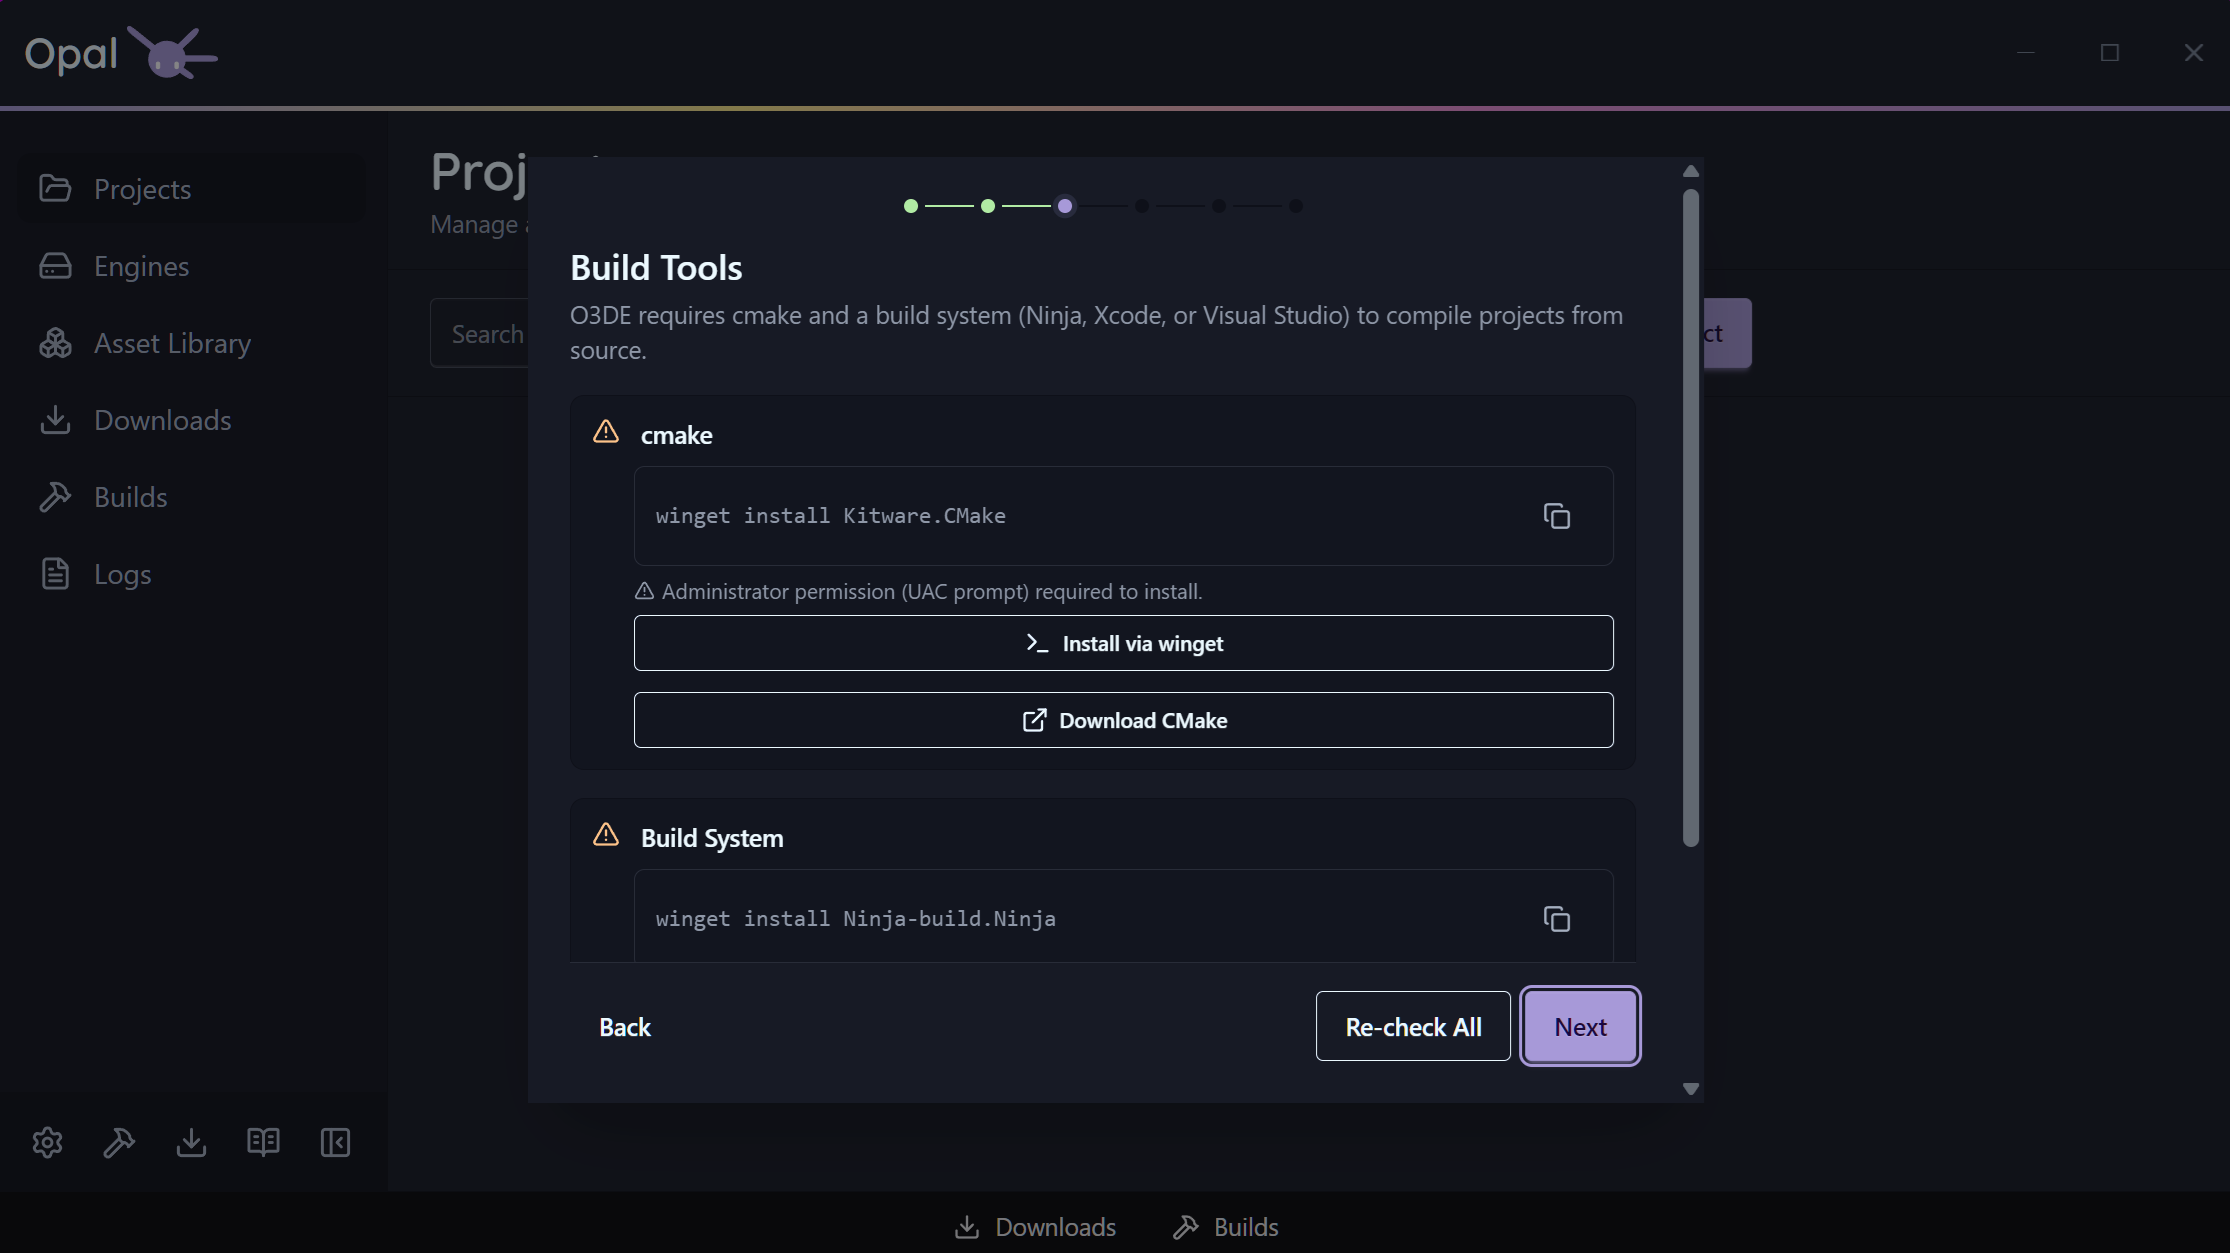
The wizard detects the build tools you already have — CMake, a build system (Ninja / Visual Studio / Xcode), and compilers — and offers the exact install command for anything missing, tailored to your platform’s package manager. You can re-run it any time from Settings.
Ninja Build is an optional compiler on Windows machines, but it’s recommended for the best experience using Opal and O3DE.
Installed a New Dependency?
If you installed new tools, like CMAKE, you will need to restart your computer to be able to build your projects successfully.Script-Only
Not planning to compile C++? Turn on Script-Only mode in the bottom of the wizard’s “Build Targets” page (or later in Settings) and OPAL skips source-build tooling entirely.
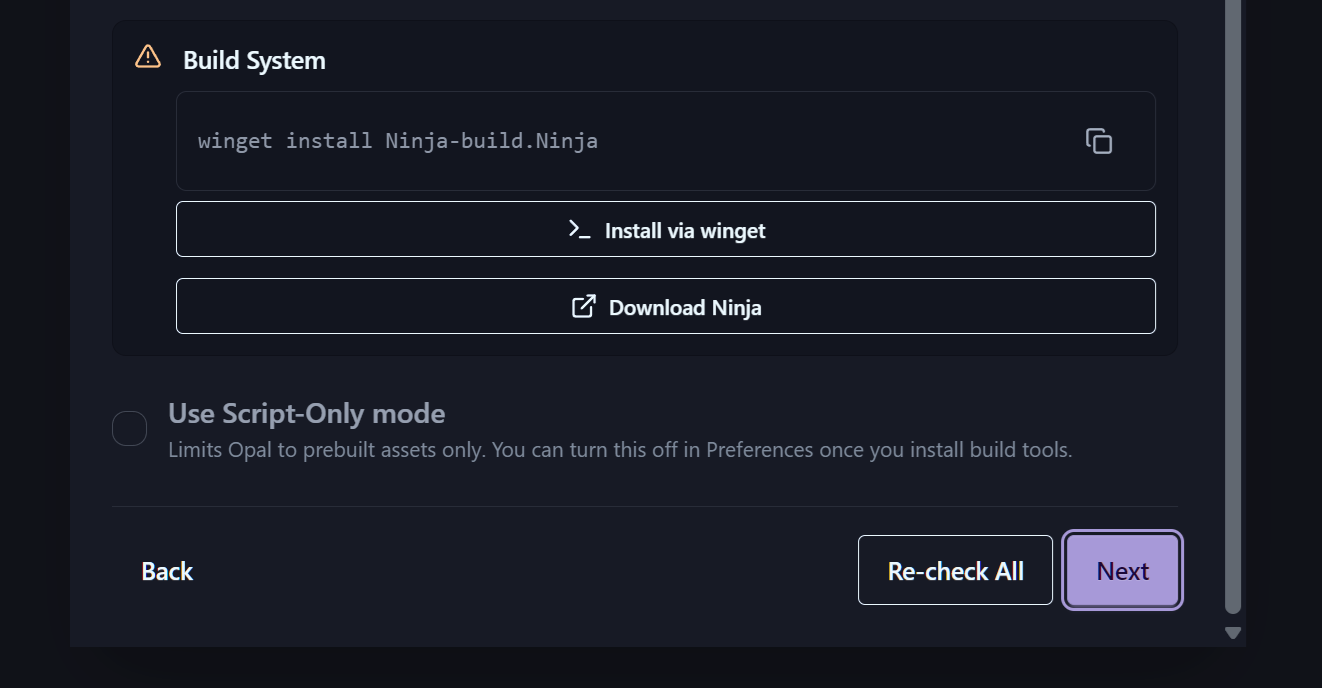
To know more, see O3DE Script-Only Projects in the O3DE Documentation.
Default Folders
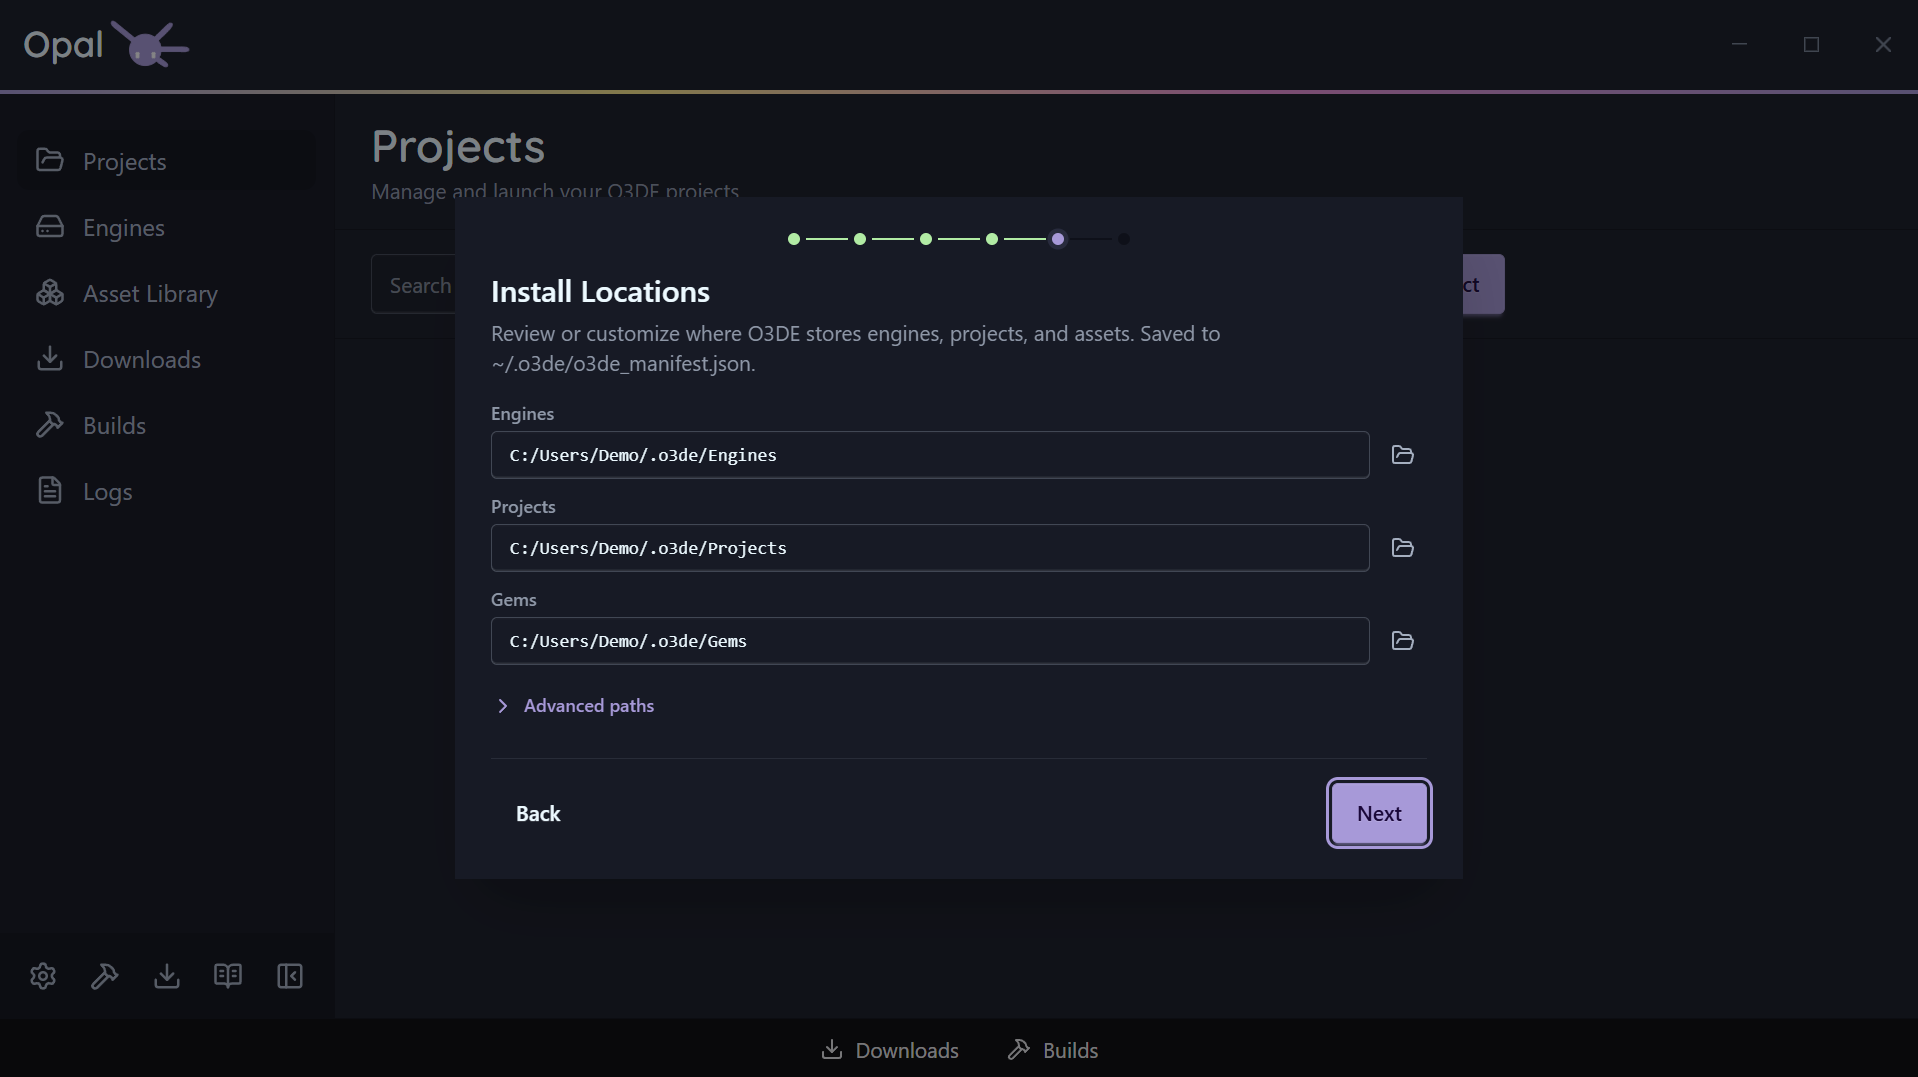
The default paths that O3DE engine and Opal use to download and detect Engines, Projects, Gems, Templates, and more. Usually fine to leave as is, but if you’d prefer to store your default files somewhere specific, change the location of these folders.
3. Install your first engine
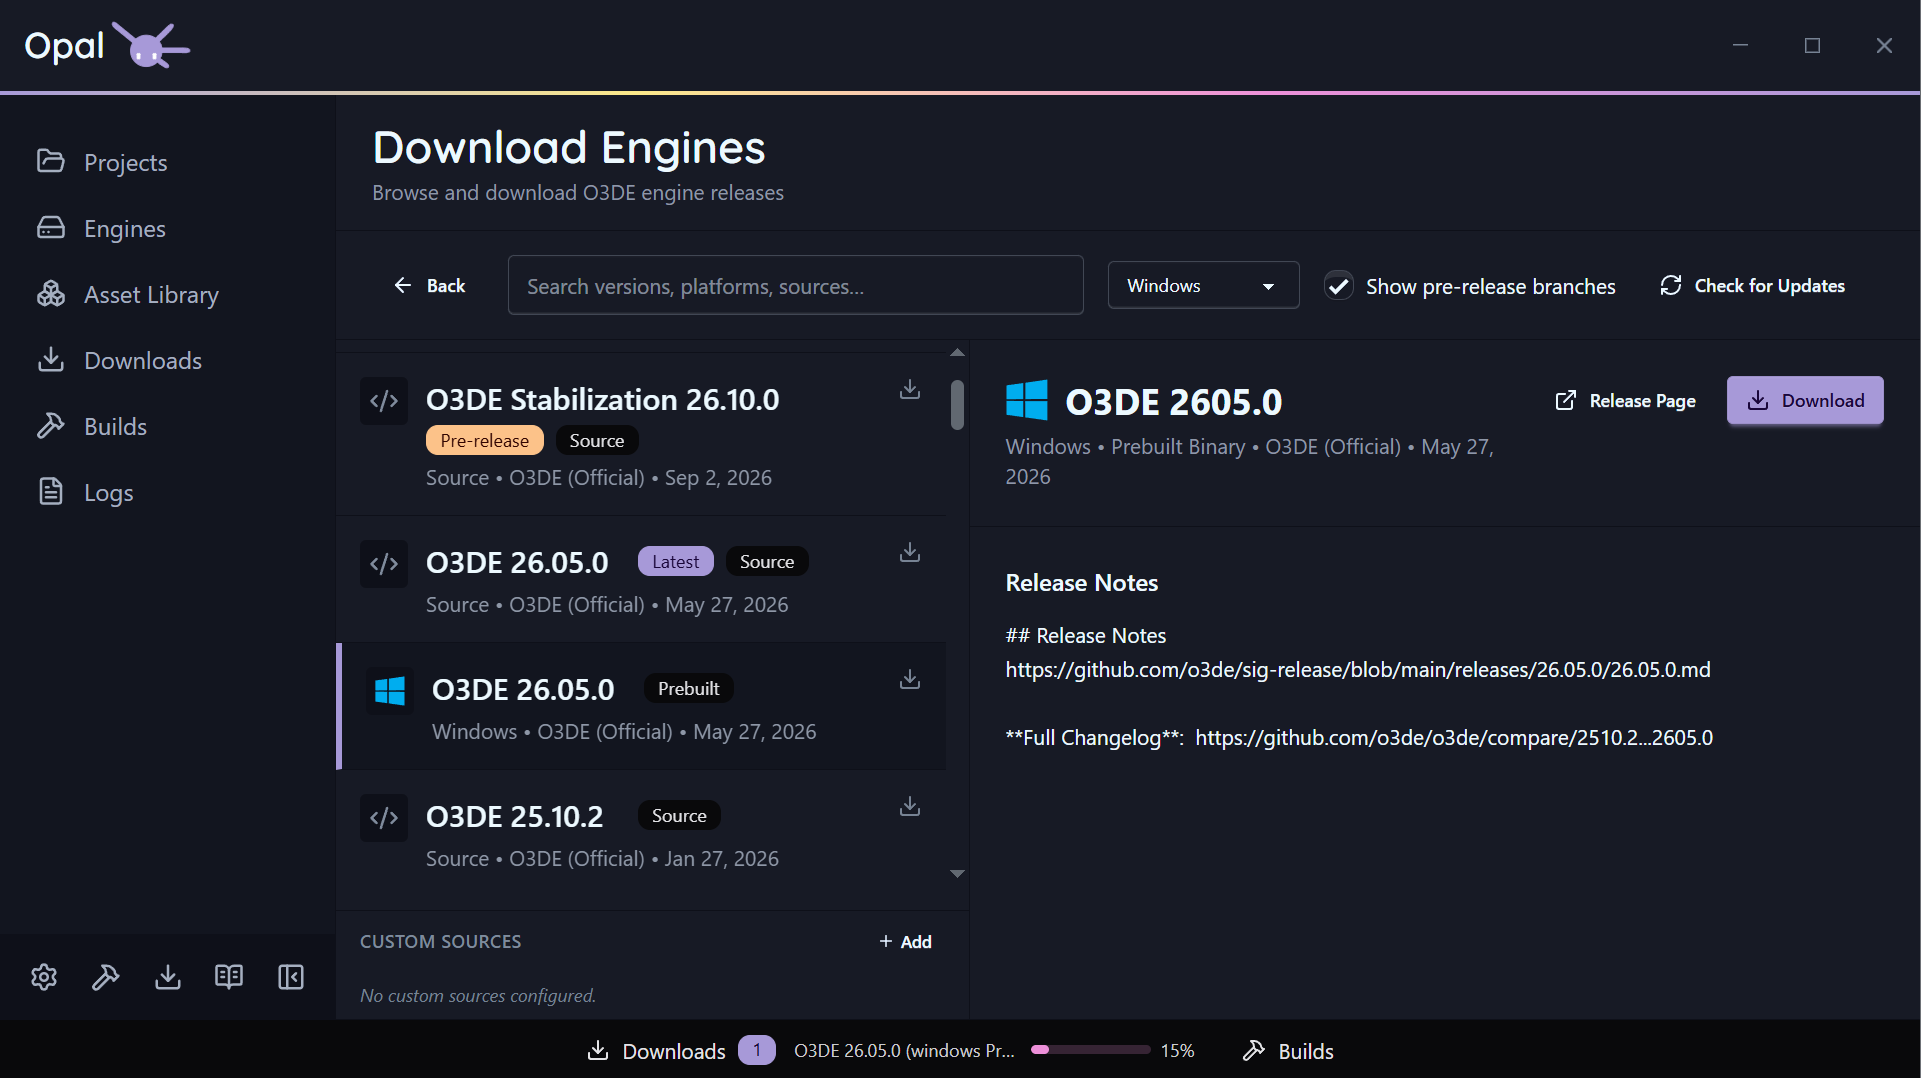
Open the Engines page and click Download Engines. OPAL reads O3DE’s release metadata and lists official builds for your platform, newest first (a Latest badge marks the current release).
- Latest release — recommended for new projects.
- Older release — pick any prior version from the list.
- Pre-release — enable “Show pre-releases” to install a
developmentorstabilizationbranch build. - Source build — install the engine as source and let OPAL build it (hidden in Script-Only mode).
Pick one. OPAL tracks the work in the Downloads queue (and the Builds queue for source engines). You can keep using the rest of the app while it runs.
Already have an engine on disk? Use Add Engine on the Engines page to register it instead.
4. Create or import a project
Once an engine is installed, go to the Projects page.
Create a new project
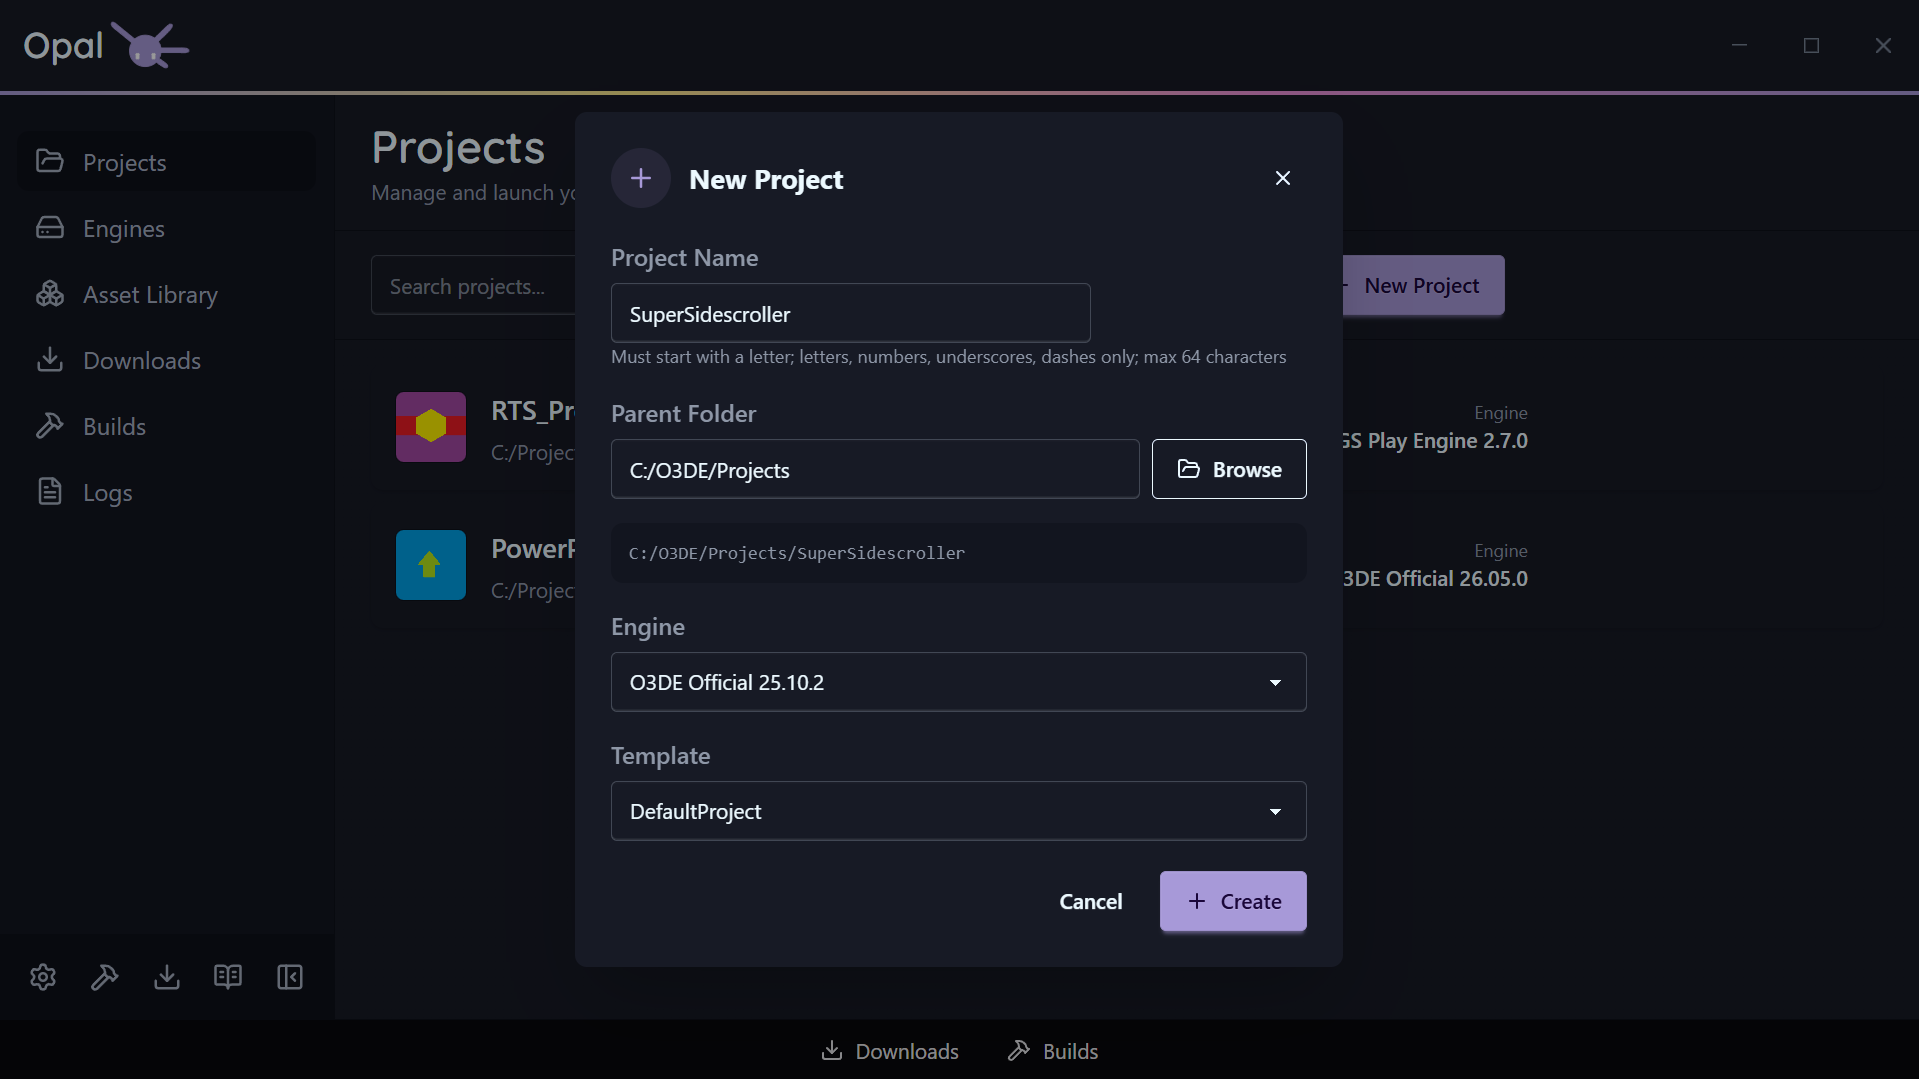
Click New Project and fill in:
- Name — validated as you type (starts with a letter; letters, numbers,
_,-; up to 64 characters). - Location — the parent folder for the project.
- Engine — defaults to your default engine; override if needed.
- Template — OPAL preselects
DefaultProject; pick another if you like.
Hit Create. OPAL writes project.json, registers the project, and adds it to the list.
Or import an existing project
Click Import and point at a folder containing a valid project.json. OPAL reads the manifest, resolves the engine, and adds the project without modifying it.
5. Build, then launch
Find the project in your list and check its status badge:
| Badge | Meaning | What to do |
|---|---|---|
| Not Built | Never configured/built | Click Build, then Launch |
| Needs Build | Changed since last build | Click Build to refresh |
| Built | Build is current | Click Launch to open the Editor |
| Build Failed | Last build errored | Open Logs to see why |
For a fresh project you’ll see Not Built. Click Build — OPAL queues the CMake configure and compile (the first build takes a while; that’s O3DE compiling your project). When it flips to Built, click Launch. The card walks through Launching → Processing Assets → Running as the Editor opens with your project loaded.
6. Next steps
- Manage multiple engines: Engines
- Configure gems for your project: Assets & Gems
- Debug a failed build: Logs
- Tune your defaults: Settings
- Export your project: Export